On a sweeter note

DSC_0522

Well, the blueberries are blooming and they’re gorgeous. So far all of our transplants are sprouting beautiful leaves. So that’s a relief. It’s always a little stressful when you’ve exerted so much work and time into a plant and you check on them every day wondering.. “Are they going to make it?”. Thankfully, those days are over for the blueberries. I think it’s smooth sailing from here.

DSC_0519-1Dandelions are so pretty I don’t care what anyone says. It’s a shame people want to rid their yard of these guys. I personally think a yard looks its best with yellow freckles. There’s a ton of health benefits from these quaint flowers but that’s not what this post is about.

I actually want to share a recipe I tried the other day. This is not a food blog I know but this was too good not to share.

2015-04-09 16.35.08-1

So my husband’s favorite dessert is chocolate chip cookies. A simple man. You can set them beside the finest cheesecake and he will still reach for the cookies. Hey, I’m not arguing!

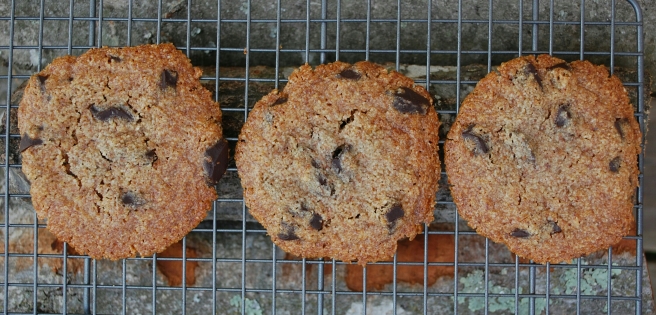
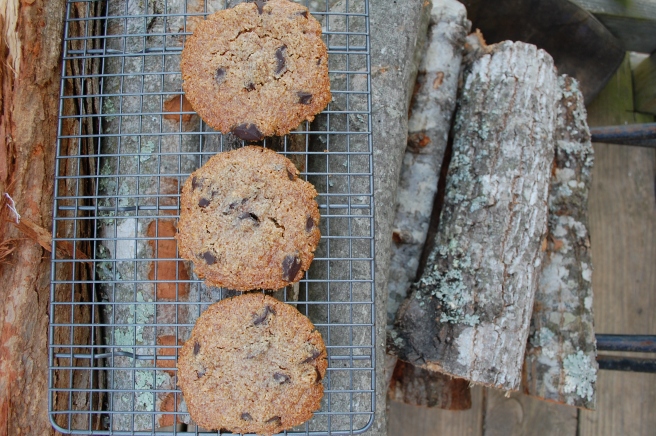
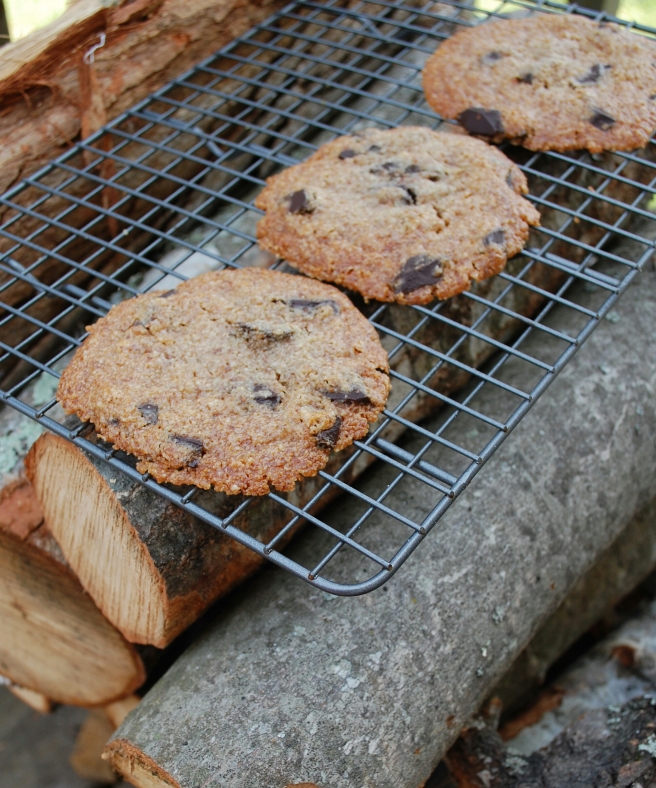
So I ran across this recipe for paleo chocolate chip cookies. This recipe is stupid simple. Thanks to Livin Paleo I’ve found my new favorite cookie recipe.

Ingredients:

1 & 1/4 cups almond flour

1/4 tsp salt

1/4 tsp baking soda

1/4 cup coconut oil softened, (not melted)

1/4 cup honey

1 tsp vanilla

1/2 cup chocolate chips

Instructions:

• Preheat oven to 350°F. Prepare a baking pan with silicone baking mat. (These mats are amazing if you don’t have one they’re worth looking into.)

• In a bowl mix dry ingredients together. In a separate bowl mix wet ingredients together.

• Once wet ingredients are well blended, add it to the dry ingredients. Mix well.

• Stir chocolate chips into the batter.

• Scoop tablespoon amounts of the batter onto the prepped baking sheet. Be careful not to crowd the cookies because they spread.

• Bake 8-10 minutes.

DSC_0543

These concluded every meal on our trip to Asheville even breakfast. And no I didn’t feel bad about it either!

Before you make these go to Livin Paleo’s blog and read her comments on the batter. It may be of some help with any batter consistency questions.

They worked great for me and my husband loooved them. Sneak these to your kiddos instead of the tubed cookie dough at the store. They won’t know what hit them!

DSC_0541-1

The Contract

I’m a softie when it comes to animals. I guess I get it from my momma. She’s a huge animal lover. Having said that, I also know that God placed  animals on this earth for a reason. A very good reason at that.

I love being able to walk to our chest freezer and pick up a pound of deer burger, pig sausage, or wild turkey breast whenever I need it. I am so thankful and appreciative for my hardworking husband for spending his early mornings/late evenings hunting for us and for God giving us these animals. I cannot remember the last time I bought ground beef from the store and for that I’m thankful. The only meat I typically buy is chicken. Until this weekend.

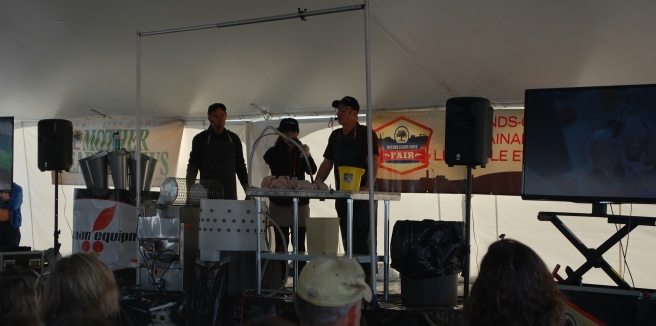
If you follow my blog, you know we went to the Mother Earth News Fair in Asheville this past weekend and had the opportunity to sit in several classes. We’ve been wanting to raise chickens for meat, but as you know I have a big heart. I guess I’m not bothered by the other animals that are stowed away in my freezer because I didn’t kill them. I didn’t have to. If we raise chickens for meat… I will.

After sitting in Joel Salatin and David Schafer’s live chicken processing demo class on Sunday it was an eye opener. I’ve never seen such pretty naked birds. The thought of birds suffering throughout their life or the thought of sometimes seeing sunlight saddens me. Chickens are meant to be able to run free and stretch their wings. So what if I can raise a bird on green pasture, eating bugs, having dust baths, and foraging the way God intended them to? I’d say that’d be the perfect life for a chicken. Not to mention being slaughtered humanely versus the unethical methods commercial processing plants use.

DSC_0545-1

The chickens that are put on our store shelves are hung upside down in shackles then stunned. They stun the chickens to keep them still to allow the machines to cut their jugular. While stunning them keeps them still it also hinders them from bleeding well and causes them to clot around the bones. After reading this in Joel Salatins’ “Pastured Poultry Profits” I could recall seeing those dark spots at the joints of birds that I had fixed before and I buy “all natural” “hormone and antibiotic free” chicken. I thought I wasn’t buying into that crap.

After the birds are eviscerated they are put in chill tanks where fecal matter develops at the bottom of the tanks. The chicken that sits on our store shelves ready for purchase absorb this “fecal soup” (as Joel states in his book) due to their soft muscle tissue. About 9% of these birds weight are just that, fecal soup. After enduring all of the filth they take as many as 40 chlorine baths in hopes to rid them of the scum.

I can’t believe that this is okay to sell to people.

Daniel and I decided we want and will give our chickens the best life we can provide them. Breathing fresh air, hunting bugs, roaming on green grass and living as natural as possible. And after they reach full maturity (this varies between breed) we will slaughter them the more humane way as Joel demonstrated this past weekend. This is the ultimate contract between chicken and homesteader.  To give them the best life and them give us the best meat possible. I can feel at ease with this decision versus supporting the alternative.

Thank you Joel Salatin, Mother Earth News, and “Pastured Poultry Profits” for opening my eyes a little bit wider.

THE Fair is coming!

image

Right now I feel like a little kid. THE Mother Earth News Fair is THIS weekend in Asheville, NC. We are camping at the fairgrounds Friday and Saturday then camping at Wilson’s River Front RV Park on Sunday. We attended the first annual Mother Earth News Fair in Asheville last year and it gave us a completely new outlook on life.

To live more simple.

My mom and bonus dad went to the News Fair in Pennsylvania a few years ago and raved about it. So when Daniel and I got married they got us a subscription to the Mother Earth News Magazine. We love it. They offer articles on living a more self-sustained lifestyle,  gardening tips, recipes, tending to your livestock, innovative ‘green’ products and so much more. This magazine keeps us pumped! If you can’t or don’t want to commit to the magazine their website offers a lot of helpful articles right on the web.

Last year we sat in on one class that made us really think about what we wanted in life. As we were walking away from the tent hand in hand Daniel looked at me and asked me if I thought of anything during that class. From there we decided it was time to start a family. That was in April. In May… well May 8, 2014, on our 1 year anniversary, we found out that we would be expecting our first child in January 2015.

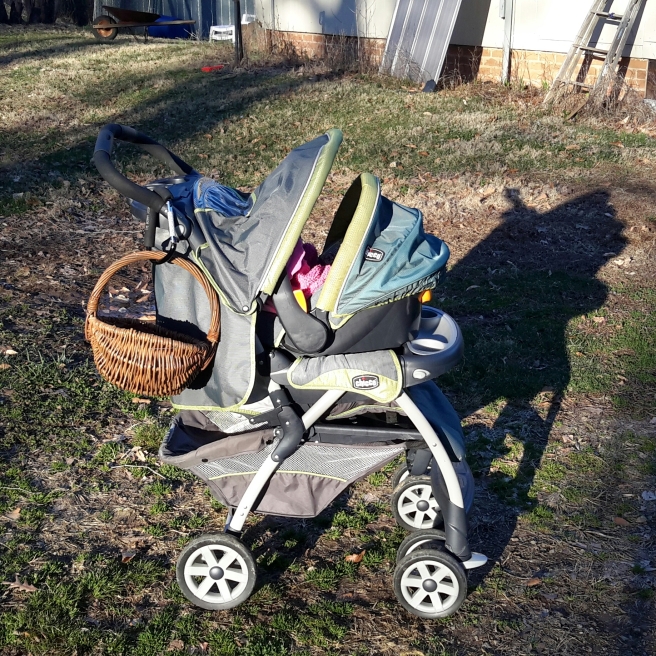
So this year our little girl will be attending the fair with us and I don’t think we could be any more excited. This year we have a family and a better idea of what direction we want to go with our homestead for our family.

The fair offers attendees so much: hands on workshops, demos, seed vendors, unique food vendors, a one of a kind book store and much more. I learned last year that if you want to take advantage of the $.99 seed packet booth you need to go Saturday morning! We went Sunday morning last year and it had been hit hard. It will be the first place we go this year! You CANNOT buy organic non-GMO seeds for $.99 anywhere – except The Mother Earth News Fair!

This year we plan to take several classes. We plan on taking “Compost Your Way to Better Soil”, “Home Poultry Processing”, “Farming Finances”, “The Best Berry… Is the One You Grow Yourself”, “Sustainable Living Simplified”, “Becoming a Beekeeper”, “Grow a Sustainable Diet”, “Considering Cattle? Make the MOOve!”, and “Raisin’ Cane and Gettin’ Juiced”. I seriously can’t contain my excitement! I won’t make the mistake of not taking a notebook like I did last year!

So I’m hoping I will be able to bring home a lot of new information on living more self-sustained not just for our family but yours too. So sign up for my email notifications so you can be notified as I post on here.

If you can make it to Asheville this weekend for the fair I highly recommend it. You can purchase your wristbands at the door, $30 each for Saturday and Sunday. There are different workshops both days. So get out and get involved with these incredible hands on workshops. View the full schedule here.

OH! They have the most amazing bookstore! And some workshop speakers offer discounts on certain books! It’s so worth it.

GO and let me know what you think!

Go get that “dough”!

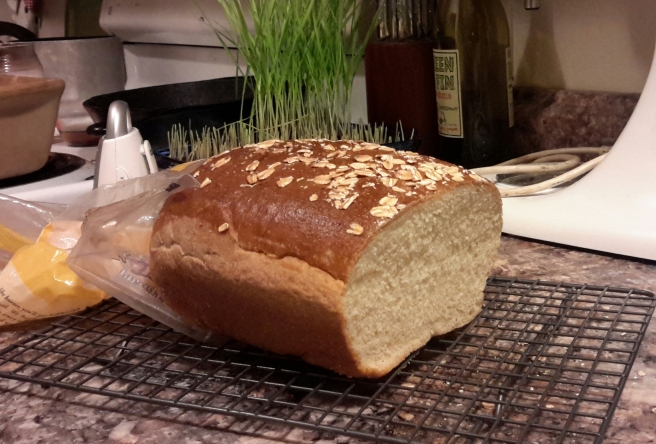
Today was yet again another gorgeous day! Today is also April Fool’s Day, my bonus brother’s (Brandon) birthday, our two Cane Corso’s (Vincenzo and Rucca) 3rd birthday, and my little girl is 11 weeks old! Time sure does fly doesn’t it? DSC_0406-1 Screenshot_2015-03-16-16-18-09-1 Screenshot_2015-03-17-10-36-03-1Remember that loaf I made last week to take camping? Devoured. We ate it so quick! That’s the bad thing about homemade bread… it’s so good and before you know it… it’s gone. Well, my husband reminded me that we were almost out so I made another loaf yesterday. The only thing I did differently was sprinkle some oats on top after I basted it with the egg wash. I figured it up and it costs me $1.79 to make. 20150331_210255-1 If you’re a homesteader, SAHM, or an entrepreneur looking to make some extra cash for your household you will need to know how much money you have invested in your product. This means knowing how much each ingredient is as a whole, $2.99 for a 5 lb bag of flour at Trader Joes. Then how many ounces in each ingredient, 144 ounces in that 5 lb bag. I think the correct way is to measure by weight but I don’t have a kitchen scale. So this is how I did it. Okay, so that means for every ounce used is $.02. Just divide the price by volume and there’s your price per every ounce used. Then you want to know how much the recipe calls for. For the loaf, there will be 26.67 ounces of flour. There will be some converting that you’ll have to do. Cups to ounces or cups to grams, however you choose to do it. You just need each ingredient converted to the same unit of measure. Now you will multiply the amount of ounces of flour that is going into the recipe (26.67 ounces) by the price per ounce ($0.02). And this should give you how much it’s costing you. The flour used dented my wallet by $0.53. After I did this with each ingredient (except the eggs because we get them off of the farm and the water because we have a well), I added everything up and that was my expense per loaf.

Now, you can dig deeper with expenses like electricity and even figure up appliances but I’m not foolin with that. I think a good formula would be multiply expenses per loaf by 3 and that should be your asking price per loaf or other baked good. So, $5.37 for a freshly baked loaf of bread and that’s a total of $3.58 in your pocket. Not too bad. I know several people that would pay that for fresh homemade bread and probably are paying close to that already especially if shopping at Whole Foods or Trader Joes. If you made just 5 loaves a week that would be almost $18 profit. Not much but if you did that every week… that’s around $936 a year with just making 5 loaves a week to sell. I think that’s doable, very doable.

Now, this theory isn’t perfect. Although it should help give you a better idea of what you have invested within each product. This will also help to not sell yourself short of what you deserve. Which is a common problem. I recommend taking the time and doing the math to figure up what it costs you to make whatever it may be. See if there’s room for money to be made and I’m sure your neighbor would rather walk to your house for those muffins or that warm loaf of bread versus driving to the store. Once you realize it’s time to expand you could even venture out to the local farmers market and set up shop. If you’re already staying at home then you know how much a little extra cash helps. Get motivated miss entrepreneur… go get that “dough”! DSC_0334

Not one crumb left behind.

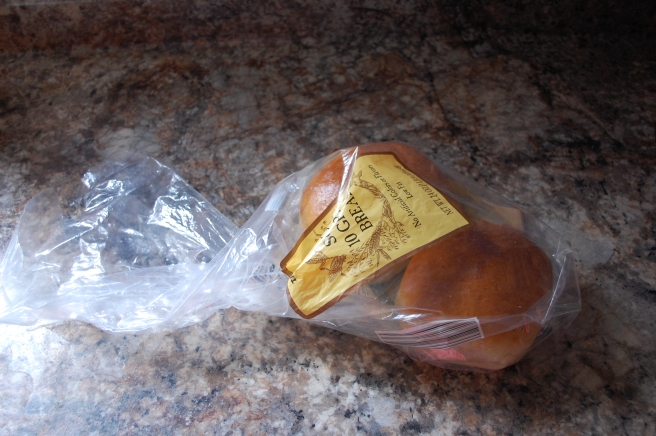
My mom comes and visits me her granddaughter almost everyday on her lunch break. She for the most part maintains a gluten free diet unless she stumbles across warm homemade bread (like she did yesterday). There’s something about freshly baked bread that will make the strictest crumble. Despite knowing her rules about gluten I offered her a hamburger bun that I made a few nights ago. Mainly because it was sooo good and I knew she’d love it, but also because I want to make her proud. She didn’t believe that I made them! Now, I could take that as an insult as if she’s implying that I can’t cook, but she knows better. Instead, I laugh because my husband said the said the same thing the night I made them, “Wait, you made these?”. Yes, yes I did.

DSC_0332After she pinched off pieces of the bread and wrapped it back up (talk about will power) with her mouth still full, “You need to write a post about that! Take pictures! That’s so good.” [Wipes hands] My job here is done.

DSC_0329DSC_0336Okay, I need to give credit where it’s due – The Clever Carrot. She posted this recipe and it came out beautifully for me. So if you’re looking for an amazing homemade hamburger bun recipe check out her blog here.

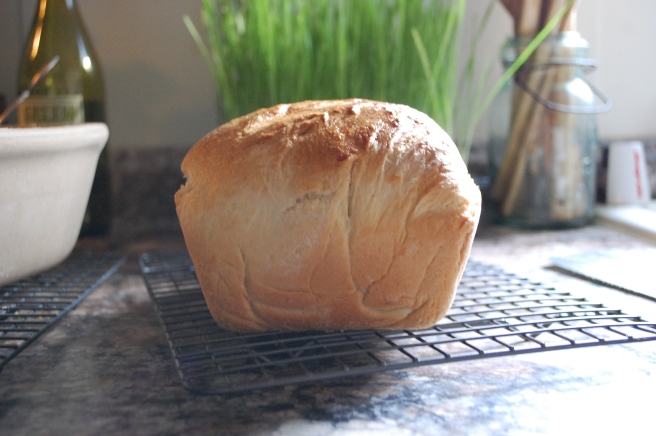
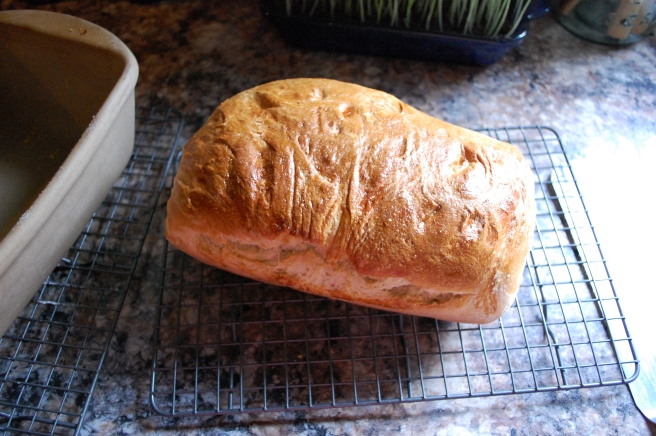
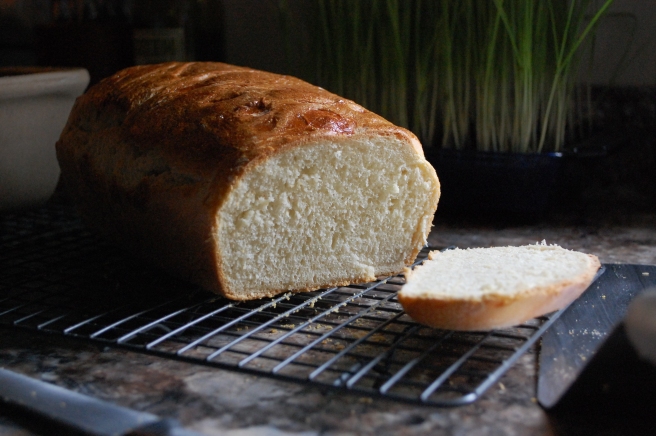
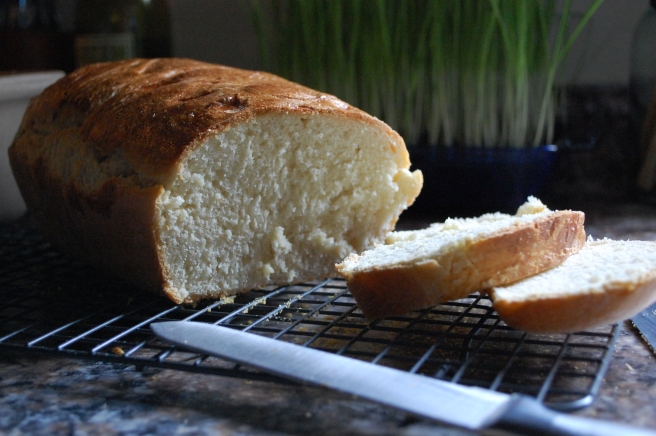
We’re going camping this weekend and I needed a loaf of bread to take with us. So why not make a loaf adapted from a recipe that already worked for me?! There really isn’t anything like fresh bread. It’s also pretty awesome saving money while eating bread better than you can buy. If you’re like me you’ll also enjoy the sense of “providing”.

For this recipe you’ll need:

• 1 cup warm water

• 3 Tablespoons warm milk

• 2 Teaspoons active dry yeast

• 2 1/2 Tablespoons sugar

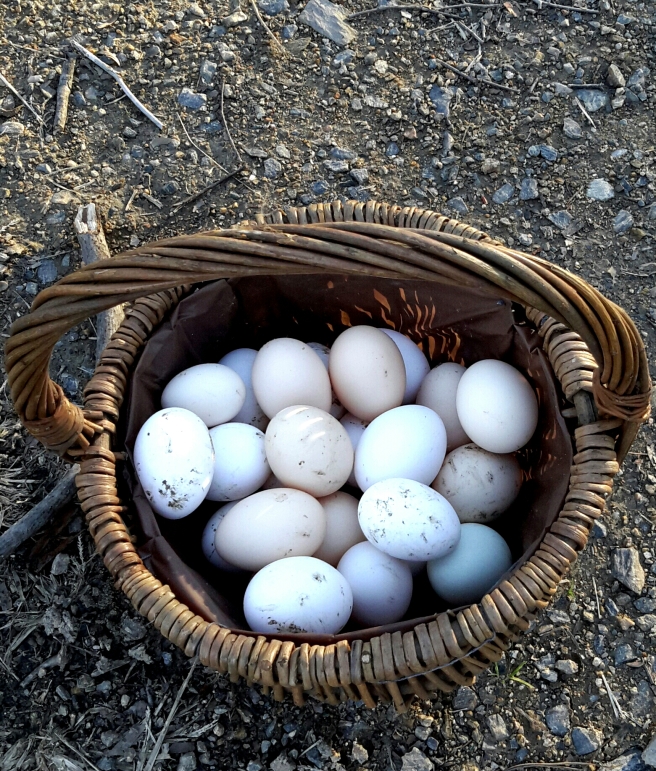
• 2 fresh farm eggs

• 3 1/3 cups all purpose flour

• 1 1/2 Teaspoons salt

• 2 1/2 Tablespoons unsalted butter softened

• Olive oil for greasing

• Cornmeal for dusting


Okay, here we go!

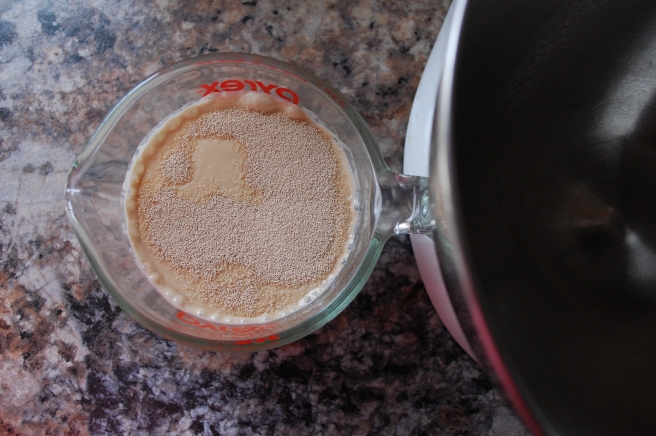
Combine the first four ingredients in a small bowl. I use my good ol’ glass Pyrex measuring cup. Add your water, milk, and sugar then sprinkle the yeast on top and let it sit for 5 minutes.

DSC_0341

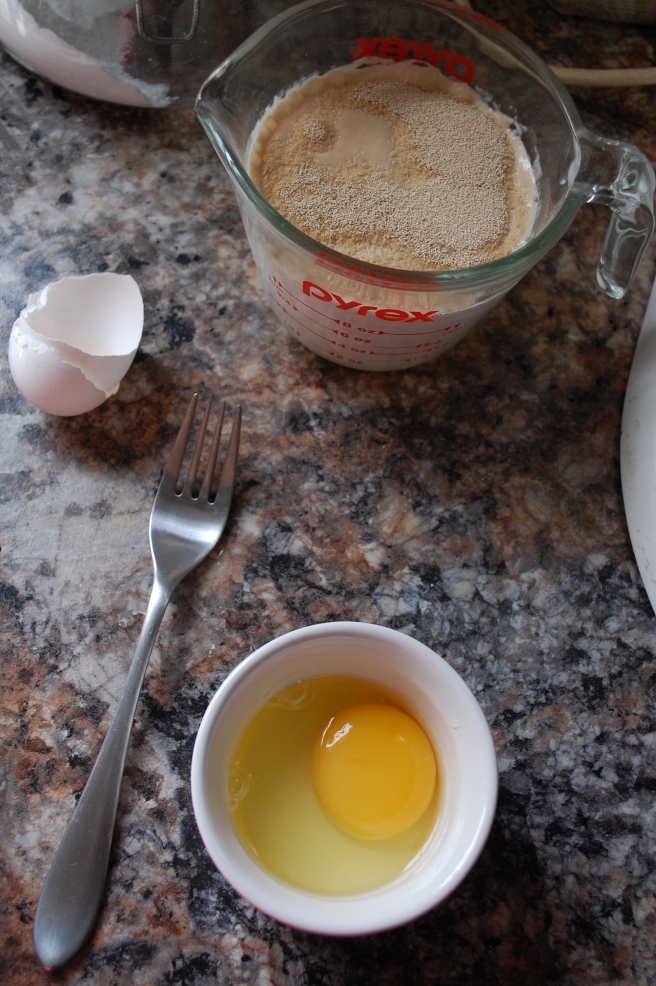
While that’s resting, mix one of the eggs and set aside. The second egg will be used later in the recipe.

DSC_0349

That little egg shell better go into your compost!

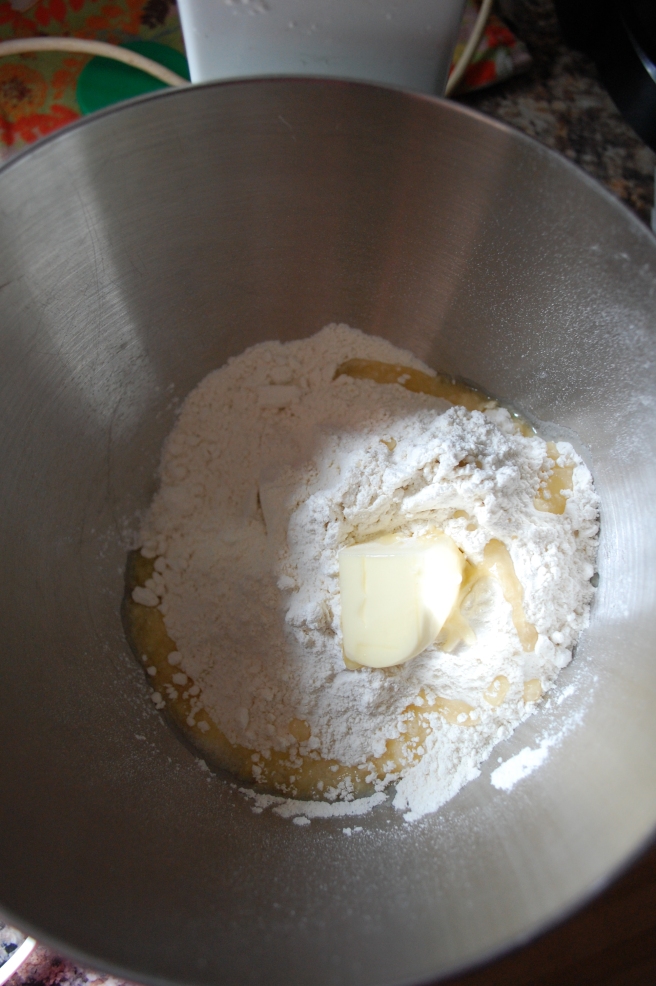
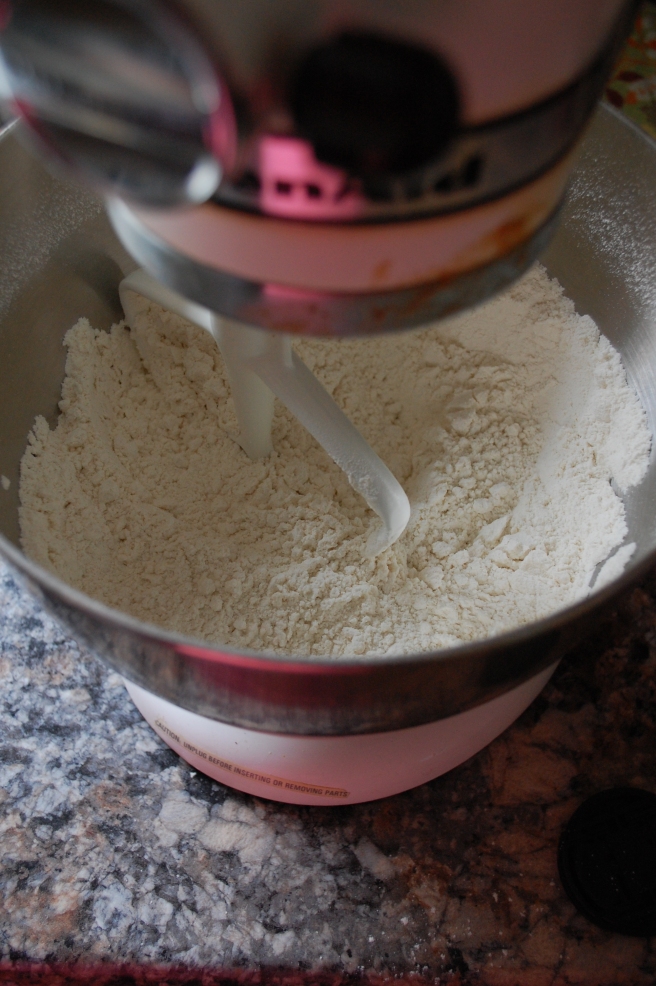
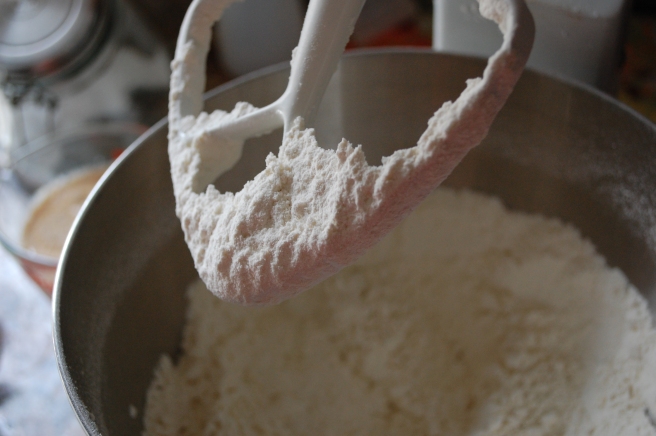
Now in your stand mixer, combine the remaining ingredients. Attach your paddle mixer and mix on low until the mixture looks slightly crumbly.

DSC_0344

DSC_0350

DSC_0351

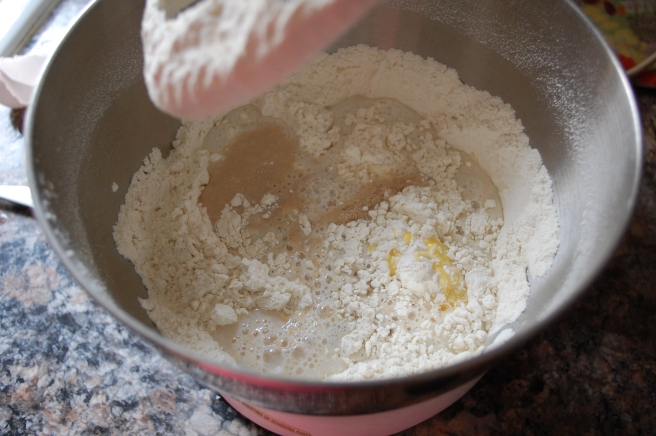
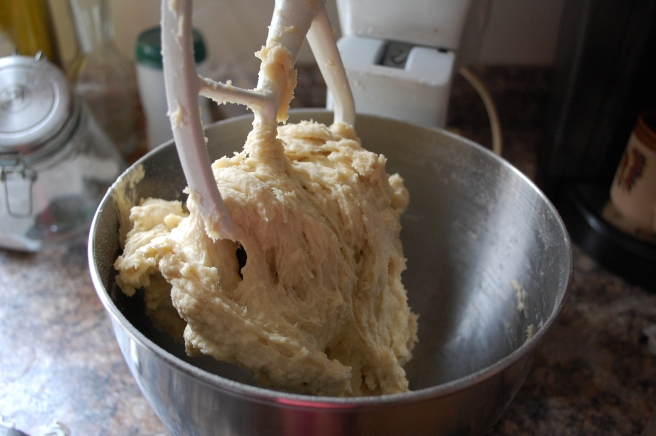
Now you will add your yeast mixture and your mixed egg to the bowl. Using the same paddle you’ll mix this on low until it forms dough. I could tell you a time but every mixer is different and I normally just eye it. Just look for that slightly elastic texture.

DSC_0353

DSC_0360

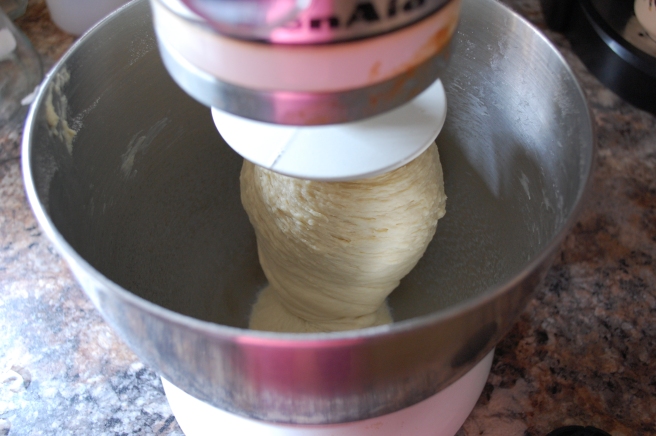
At this point you’ll need to switch from your paddle to your dough hook. And set your mixer again on low and let it do its thing until it forms a ball of dough.

DSC_0365

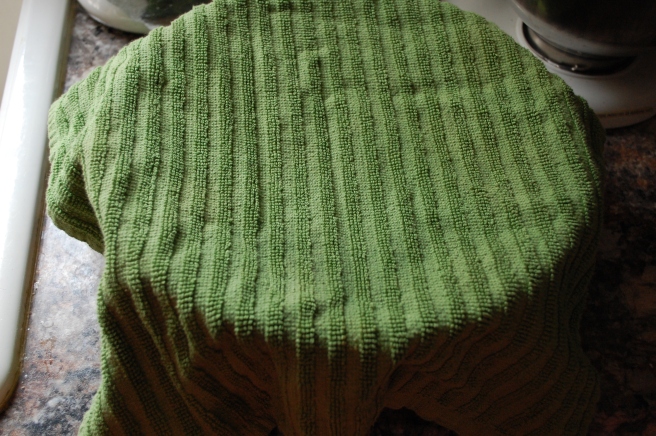
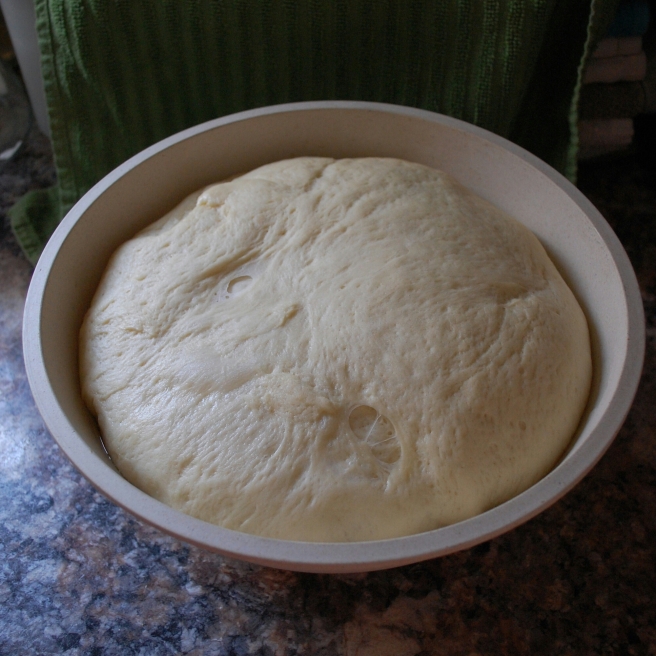
Now, you’ll need a extra large bowl let let your dough rise. You’ll want to coat it with olive oil so it won’t stick and find an area that is warm and free of drafts. Cover with a kitchen towel and wait until it doubles in size. This should take a few hours but then again it depends on its environment.

DSC_0368

DSC_0371-1

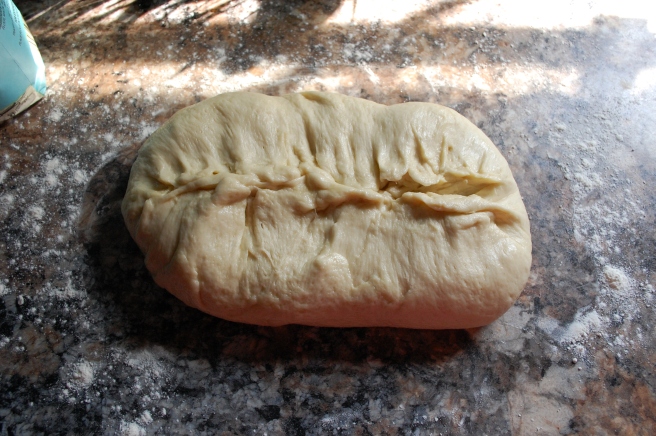
After it has doubled in size, punch it down and transfer it to a slightly floured surface. I used the same method that was used in The Clever Carrot’s hamburger bun recipe. I folded the outer edges to the center then pinched them all together (this will be the bottom of the loaf).

DSC_0375

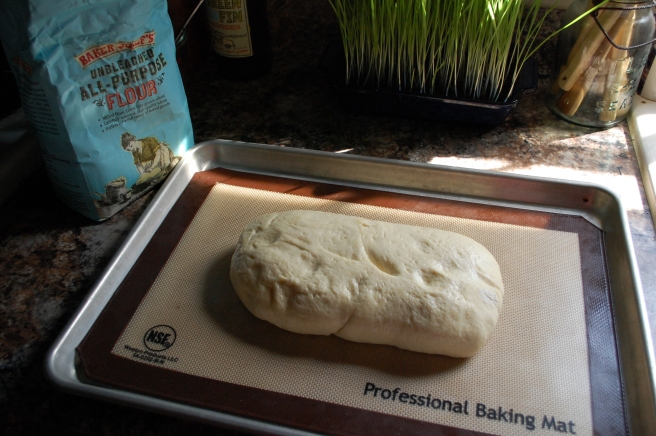
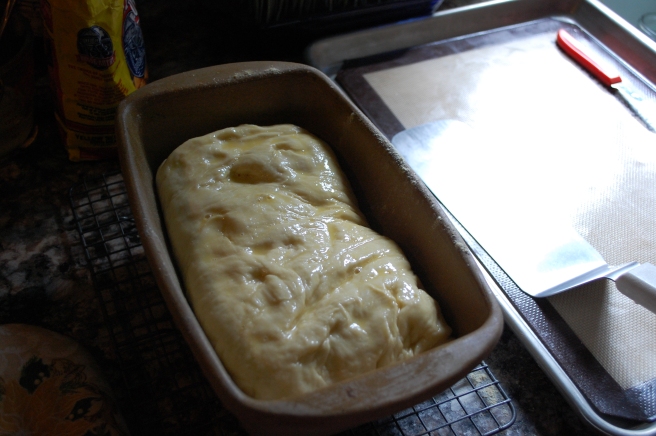
Then transfer it to a non floured surface (like a silicone baking mat) belly down to rise for a second time. Gently shape it into the shape of a loaf and let it sit for about 30 minutes. In the meantime, you’ll want to get out your good ol’ stoneware bread pan. Preheat your oven to 400 degrees and slide it in there and let the pan warm up with the stove. Putting cold stoneware in a extremely hot oven could shock it and cause your pan to crack. We definitely don’t want that. Also, putting a smaller oven safe dish on the lower rack with a little bit of water will keep moisture in the oven.

DSC_0377

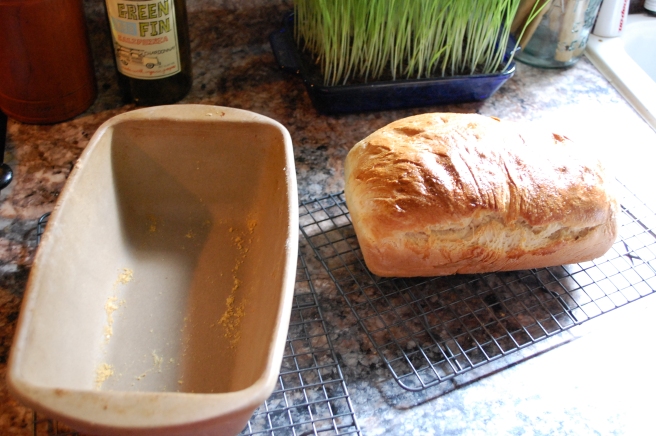
Once your oven is up to temperature take out the bread pan and coat the inside liberally with olive oil then dust with cornmeal. My fear is for my bread to get stuck in the pan. Doing this step made my bread come out with ease. Not one crumb left behind. For me putting the dough in the pan was awkward. I burn myself a lot and I’m sure that was a big factor in the awkwardness.

DSC_0379

Remember that long lost egg? Get it and wisk it up adding a splash of water. This is your egg wash that will give your bread a nice golden sheen when it’s finished. Baste the top of the loaf and slide that jewel back into the oven for about 35 minutes.

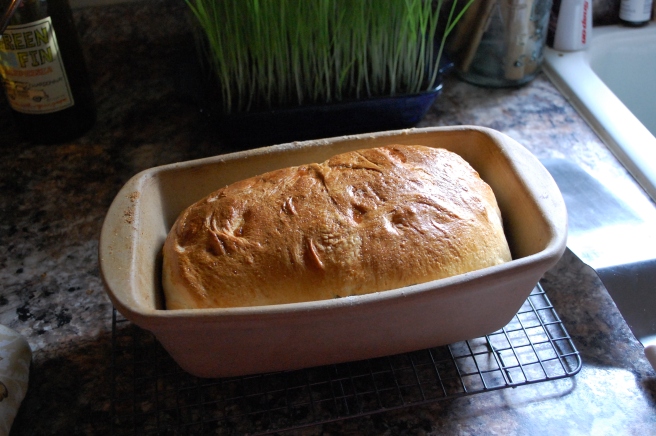
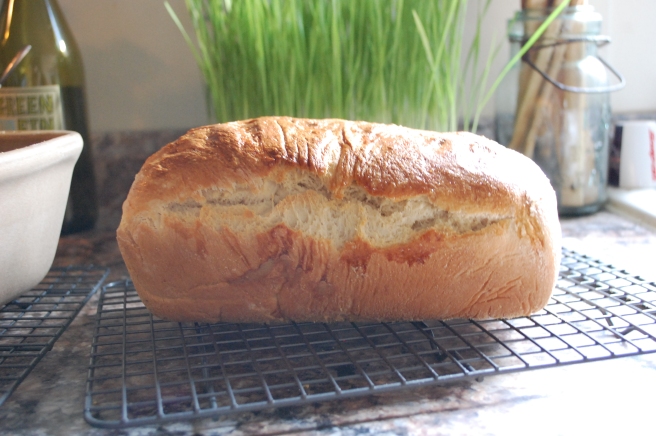
Being that each oven varies, what you’re looking for is a nice golden brown top and when you tap on it the bread sounds hollow. That metal spatula there is a huge help checking the sides to make sure they’re done as well as getting the loaf out. If you have one go ahead and get it. You can thank me later.

DSC_0383

Okay, so I bought my loaf pan warped at a discounted rate because these puppies are expensive. So my loaves are never perfectly shaped. So what. I’m not trying to win an award here. Ha.

Place your pan on a wire rack to cool slightly before getting your loaf out. I’d say 10-15 minutes. You don’t want to leave it in there to cool completely because stone holds heat and will continue to cook your bread.

DSC_0391

Place them both on a wire rack to cool. When you can’t take it any longer slice that loaf up and call that special someone (with bread still in your mouth) to let them know what just came out of the oven. For me, it was my mom.

DSC_0389DSC_0387DSC_0393DSC_0395DSC_0396

1 Tomato, 2 Tomato, 3 Tomato… 42???

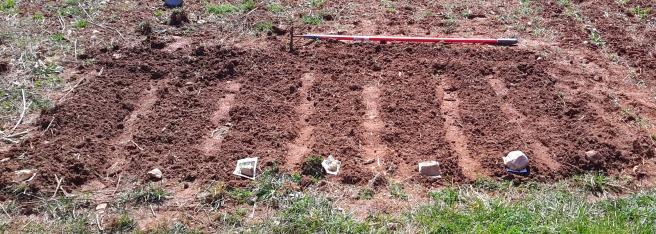
For the past 4 years Daniel and I have had a garden and it NEVER fails for me to over buy, over plant and over crowd. I start out with 4 tomato plants and end up with 12. Always against Daniel’s better judgement, I buy a wide variety. Variety isn’t bad. In fact I encourage it but when working with limited space you can’t buy one of everything. Especially if you’re a family of two. You simply dont need it. Yes, this is me owning up to doing this. For four years now. Daniel was right. I was wrong. But this year… this year is going to be different!! 2015-03-12 15.06.13-1 I’ve started a small lettuce bed within our front garden. We also have 6 raised beds in the back yard that will migrate to the front yard as soon as we find time. Being that I’m staying at home now Daniel says my job is to plan and take care of the garden and of course can our veggies. Are you serious?! My dream job!

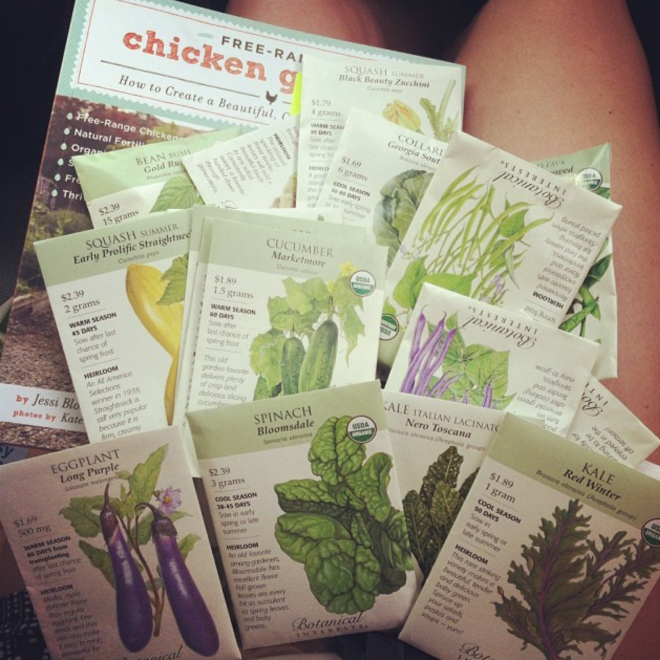
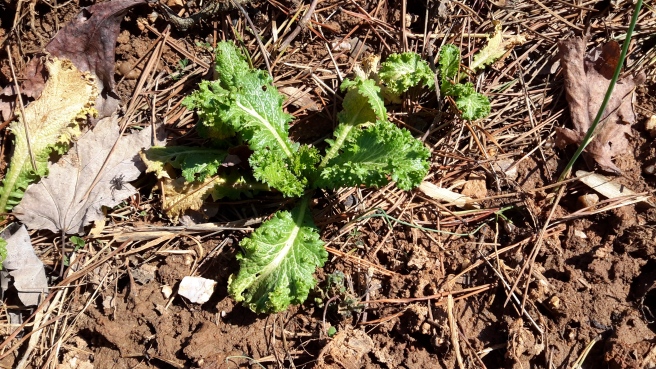
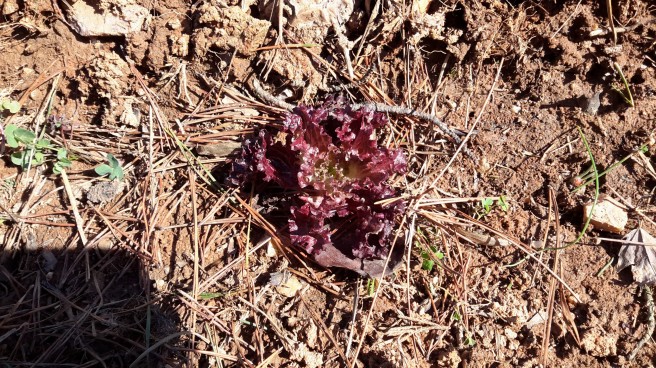
Okay, so from left to right I’ve planted two rows of Organic Butterhead Lettuce, one row of Organic Redina Lettuce, one row of Organic Italian Lacinato Kale, one row of Organic Red Winter Kale, and two rows of Organic Bloomsdale Spinach. I also planted onions horizontally on the backside of these rows. Onions when planted close to leafy greens ward off insects. The same goes for Marigolds. They’re so pretty but also work for you.

Organic Kale
Organic Kale
Organic Redina Lettuce
Organic Butterhead Lettuce

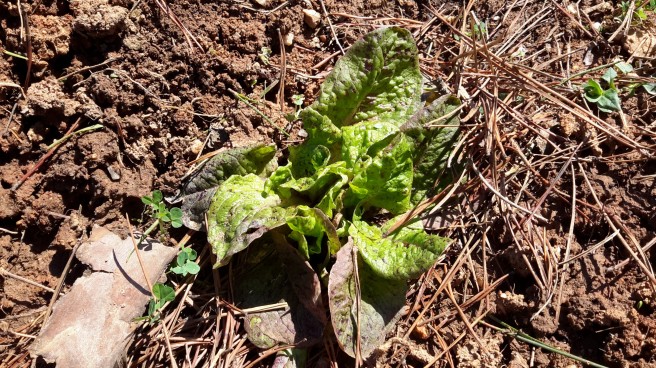
While I was planting the other day I noticed these fellas growing beneath pine needles. What a surprise considering we planted these late last fall!

Anyways, it’s supposed to get up to 75 degrees today in the Yadkin Valley. It’s going to be beautiful today and I’m planting Eggplant, Snow Peas, and Fava Beans! 

As you’re planting your garden this year just keep in mind how many people you’re needing to feed, the space you’re working with, and what plants you consider staples for your family. Taking these into consideration should help with preventing overcrowding. Planting according to the recommended guidelines on the back of your seed packet will help allow your plants to grow to the best of their ability. They need a certain amount of space in each direction.. even depth. So be sure to read your seed packet to its entirety before planting.

2015-03-16 14.12.57Here’s some fun from yesterday!

2015-03-16 09.33.00 20150315_182217 2015-03-16 09.34.38

20150315_182236-1

What the Cluck?

Yep. That’s what it was called.

“What the Cluck?” was the coolest workshop we took while at the Mother Earth News Fair in Asheville, NC last April. Apparently everyone else thought so too considering people were sitting on the floor and holding up the walls. Jessi Bloom was able to paint this beautiful picture of how to incorporate chickens in your garden. We were flooded with useful information that we could take home and apply to our homestead. We seriously couldn’t get home quick enough.

She showed us how we could use our flock to weed our garden, help fertilize, and even accelerate composting. Not to mention they can provide our family eggs and meat. Once we got home, Daniel and I built a chicken tractor. A very simple pvc pipe chicken tractor. We zip tied poultry netting around it and then a tarp over one end to give them shelter. We built it just wide enough to fit in between the rows of our garden. Josie, Clint, and Eastwood sure kept our rows crisp! We moved them every day to expose more weeds and soil to them. It didn’t take them long to pack down the dirt inhibiting new weeds from flourishing. They helped us through our garden season and then mother nature impeded. Just as we knew it would if we weren’t careful. Chickens have so many predators from your common raptors to your family dog. So if you’re considering adding chickens to your homestead be aware of where your flock is at all times and take the necessary precautions to building them a safe coop. FYI dogs that are not trained properly see chickens as their most sought after squeaky toy and are capable of tearing fencing apart to get to them. Jessi explains just this in her book, Free Range Chicken Gardens. I highly recommend this book to anyone with or considering chickens!

Lets face it… unfortunate things happen to all new farmers. Its a part of the experience in my opinion. We have to learn from it and put it behind us.

The 2nd annual Asheville Mother Earth News Fair is approaching us quickly. Like.. really quick. Why is it that as a child time creeps by? But as an adult if you blink you can miss some precious things? Last year the MENF made us want to live more simply. We are really excited for this year’s fair being that we are more established with our homestead and have a better idea of what direction we’re going with it.

I don’t mean to air out my dirty laundry…

      I’ve never been a fan of someone airing out their dirty laundry online but here we go…
image

While I was pregnant, my husband and I decided that we wanted to try cloth diapers (CD). Just saying it sounded dirty and like hard work. However, we knew it would save us money, be better for our baby, and help the environment. Having said that… we were all in!

We started doing some research on cloth diapers and how they actually work. To this day (a week into it) I’m still not sure we’re doing everything right.

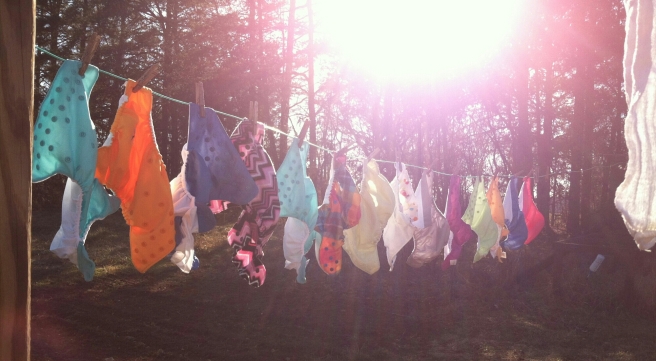
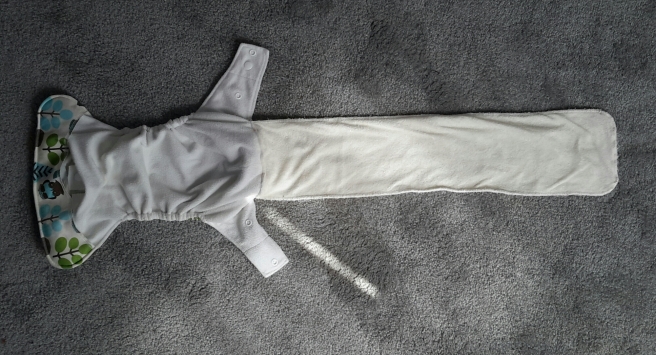
My husband is an avid Craigslist searcher; always on the look out for a good deal. He found an add for a local yard sale that advertised a lot of baby items and being that it was warm weather we headed out to see what we could find. As we arrived, it didn’t take me long to realize a laundry rack on her front stoop dressed in colorful cloth diapers and liners. I couldn’t help but to notice that her liners and diapers were… white! When I think cloth diapers I can’t help but to picture them stained and grungy. Nope. Not from this gal. I had questions!

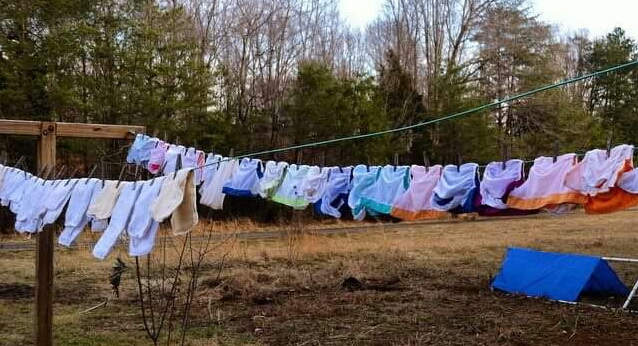
It was a young couple with two boys. She told me that they had put both of their kids in CD. So the liners that I’m looking at have been used for 2-3 years and still going strong! I’m impressed. She recommended a diaper sprayer (already decided I’ll register for that because they’re kind of pricey) but to be careful letting the husband get a hold of it because apparently hers sprayed poop all on the walls. Noted. She reassured me that the smell wasn’t bad. Sorry that’s just something I needed to find out for myself (I can’t imagine poop not having a smell). I asked her what laundry detergent she used and she said she made her own. Well, I do too but don’t know that it’s fitting for diapers. Anyway, she said line drying is a must as the sun works as an antimicrobial to work stains out. I can do that for sure!

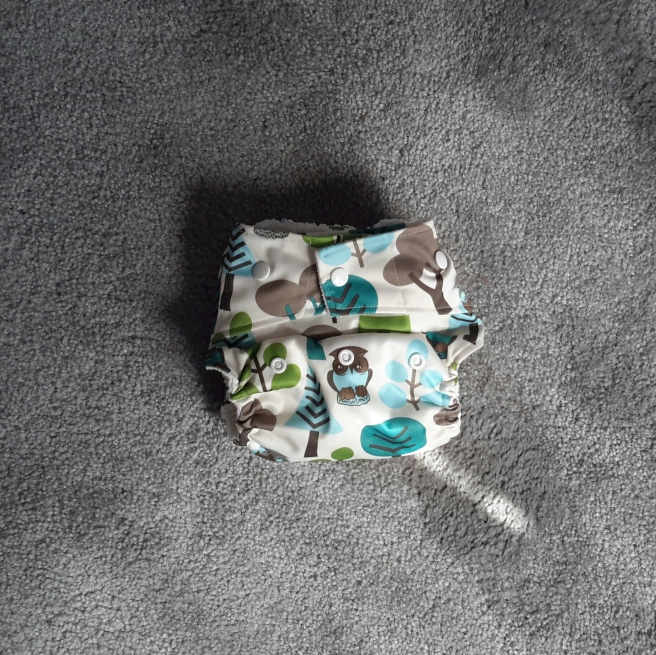
We had an arm load of stuff that we wanted to purchase and she told her husband to go inside and get a certain diaper. He came back out and handed her the diaper. Then she with a smile handed me our first cloth diaper. How sweet was that?! By the way, cloth diapers are not cheap (but cheaper than disposables)!
image

image

image

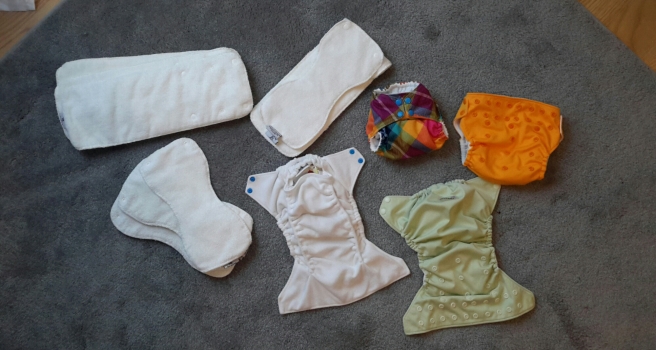
I quickly realized CD properly taken care of will last a long time! We started looking on Craigslist and found out pretty quickly that they really hold their value! We found a lady with an array of Rumparooz. I really like this brand. A pocket diaper with a gusset lining to catch any blowouts! We ended up buying four CD and 8 liners. Four of the liners are newborn size and the other four are as your little one (LO) gets bigger. Or the two will snap together for bedtime if your LO is a heavy wetter. Our first purchase ran us at $80. They were a few years old, used with several kids (I forget how many she had), and still only $5 shy from the price of a brand new diaper. Okay, so we saved $20… a saving is a saving.
image

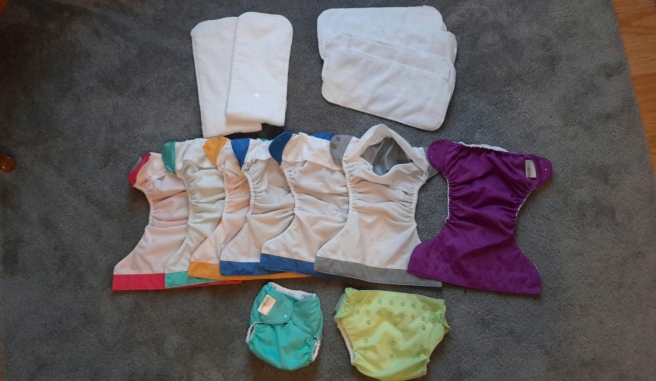
From there, we started purchasing a few from our local Babies R Us. Sadly, they didn’t have a broad selection. I guess we can blame that on supply and demand. People start cloth diapering! 😉 Thankfully by this time, we had a few gift cards that we were going to use. I’ve read from many blog posts that the bumGenius 4.0 OS (one size) with snap closures are some of the best CD. Good deal because that’s all that they sold. The 4.0 is pretty darn awesome. They’re also a pocket-style diaper and will fit  newborn to toddler with adjustable snaps.
image

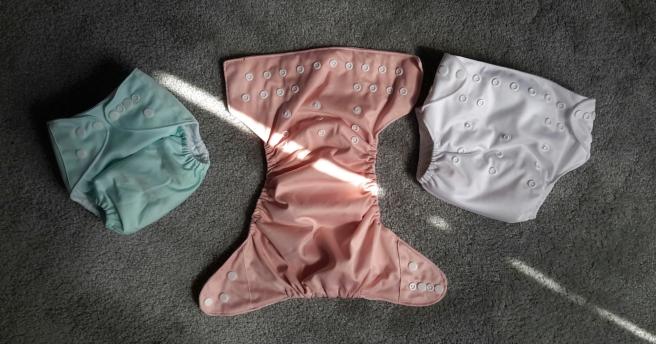
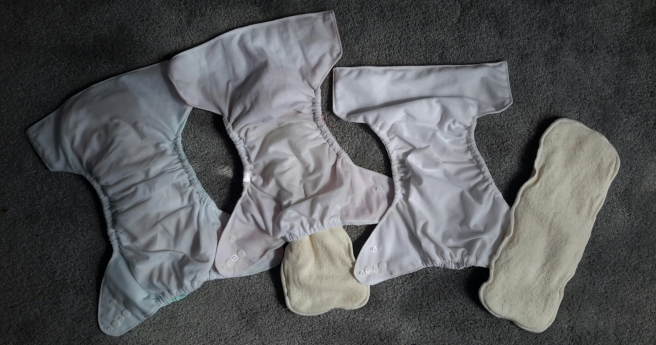
One thing the yard sale lady mentioned was that the velcro closures are nice but they do wear down and lose their stickiness. So I made my mind up and was going snap closures all the way! I also found a lady on Etsy, Momgaroo, that hand-makes CDs that resemble the 4.0. I love the look of her diapers. There’s no telling how many pages of reviews that I read. I kept reading the same things: how well made they are, how well they work, how if you like the bumGenius 4.0 then you’ll like these. They were cheaper than the 4.0 at $39.95 for 3 cloth diapers with organic hemp inserts versus $18 for one 4.0. Mint green, light pink, and white – sold. Just like that.
image

image

Okay, let’s fast forward through baby showers, CD purchases, and the delivery of our beautiful baby girl. After Oaklee arrived, I was changing diapers way too often for it to be sensible to switch her to cloth. Fast forward a little bit more. She’s 6 weeks and 2 days and I’m doing it!

This is what I had when I switched:

Around 20 cloth diapers
40 ish liners/inserts
A diaper sprayer
2 sets of heavy duty gloves, his and hers
A food grade storage container from Walmart bakery
bumGenius laundry detergent

So I’ve been doing this for a week now and would you believe me if I said that it really isn’t that bad? In fact, I really enjoy cloth diapering. All of ours are one size pocket style that should fit our LO from newborn to toddler with the adjustable snaps in the front. With the new diaper inserts, we had to wash them several times for them to reach their full absorbency potential.

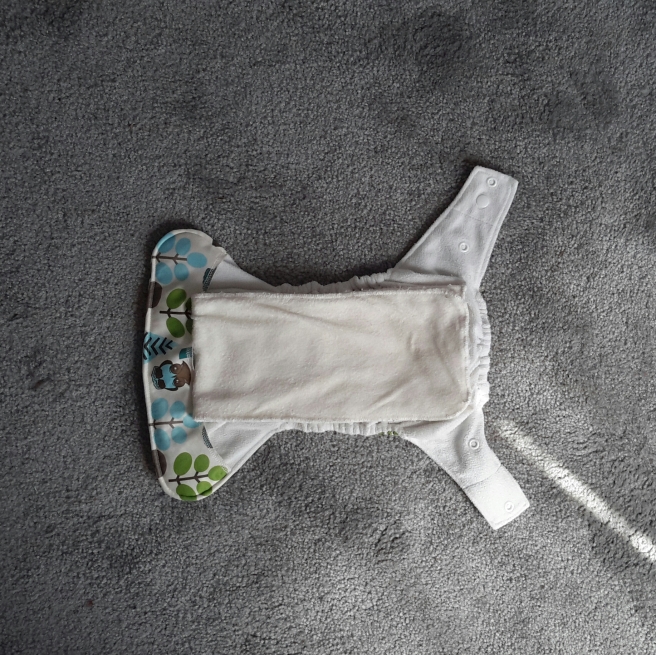
Here’s how it works: you stuff your insert (I’m currently using newborn) into the pocket. With most brands when you purchase a diaper you will get two inserts, one small and one large. The two will snap together for your heavy wetter or you can use them separately (like I said earlier). Okay, so it’s stuffed and sitting pretty on my changing table…waiting. It’s time! Now what? It’s simple, you use them just like a disposable. I take off the soiled and replace it with a clean CD. I take the dirty diaper to her bathroom where we have the diaper sprayer hooked up to the tank of the toilet and our $1 food grade container (our wet pail) in the tub. Slip on some heavy duty gloves and I’m ready to go. I unsnap the front of the diaper so when it goes into the pail it’s ready for the washer. Then I pull out the insert and spray it off then wring out the excess water and toss it into the pail. Lastly, I get the CD and put my hand into the pocket and hold it in the bowl and spray, wring, toss. It’s pretty simple especially if you don’t mind a little extra work. With me being a SAHM, there’s no reason I shouldn’t be able to do this.

I wash diapers every other day. I have them all unsnapped and back to their original state. I throw them and the liners in the washer with using 1 scoop of bumGenius diaper detergent. There are many approved detergents but being that I’m new to this, I didn’t want to make a mistake. So I went with what was recommended. **Do not use additives** You spend way too much money on these to ruin them; so no vinegar, no baking soda, and no fabric softener. However, it is recommended that you use 1/4 cup of bleach through your hot cycle once a month. Her diapers are in the wash, detergent in the drawer, now pre-rinse (no spin needed), hot wash, rinse, extra rinse and spin. You can tumble dry your inserts but your CD should never go in the dryer. If you can’t hang them outside on a line hanging them in your laundry room should do just fine.
image

Having said that, you should now have clean diapers and one happy baby! By cloth diapering, it’s an initial investment for sure but in the long run you should save quite a bit of money (that will be another post). Not to mention you already have your diapers for your next LO! After a week of cloth diapering, I couldn’t be happier with each brand of diaper. Not one has let me down. Each rinse out easily, fit snug around the thighs, and we haven’t had any blowouts. We were leaving to visit family in Norfolk today and we decided that disposables would be better since we were traveling for the weekend. She has had two all but blowouts and her bottom is already red. Take my word for it. CD are worth the money, time and effort that you invest in them. Get a few and try it out. Heck, if at that point you decide it’s not for you, you can sell them. You already know they hold their value! After the wash they are clean, looking good as new, and the only smell they have is clothes line freshness.

Huh, I guess the laundry wasn’t so dirty after all.

image

Welcome to our homestead!

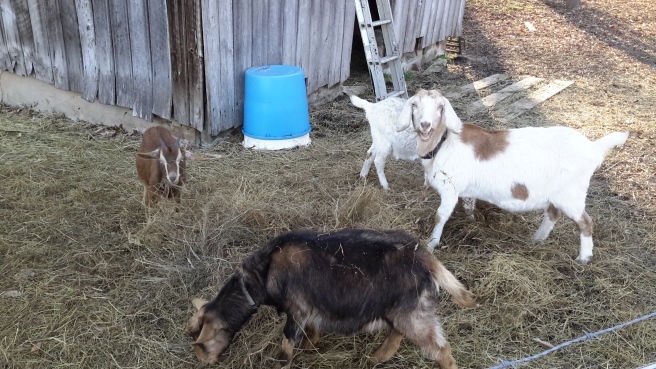
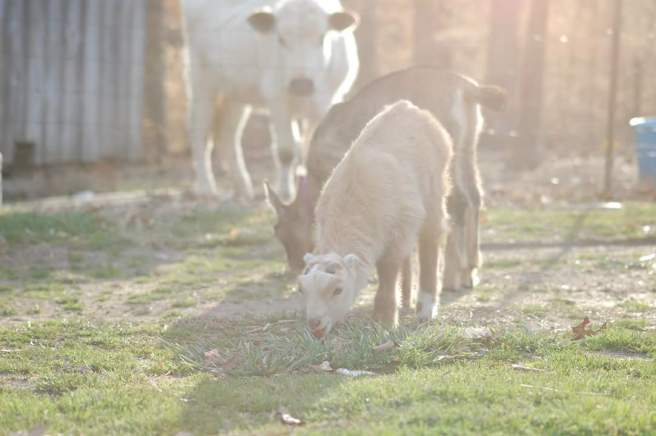
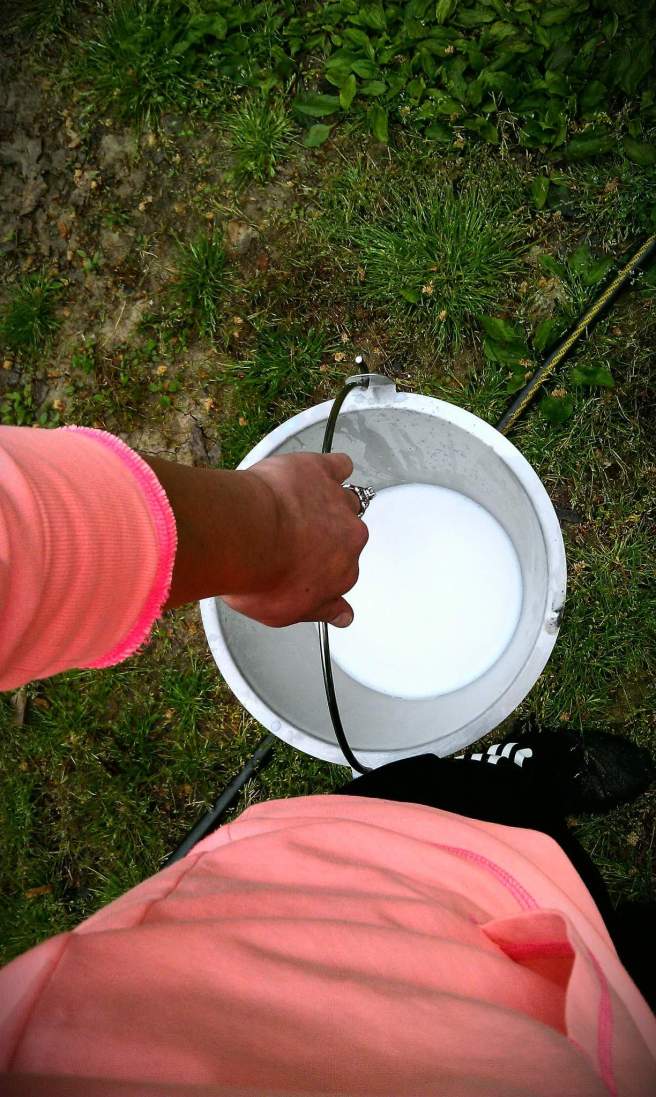
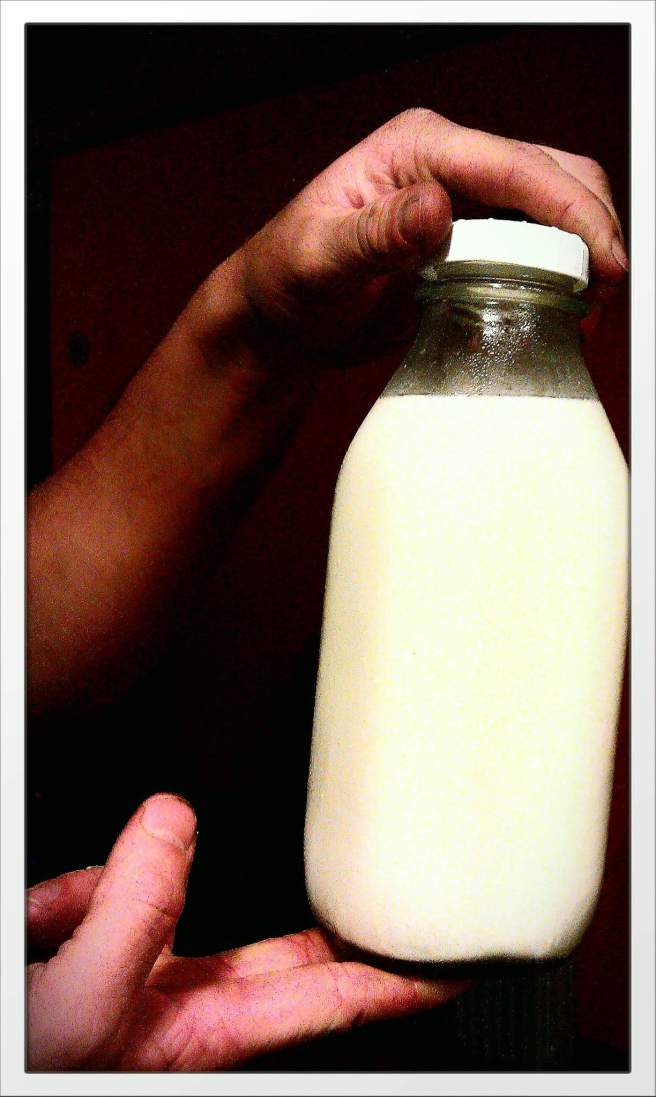
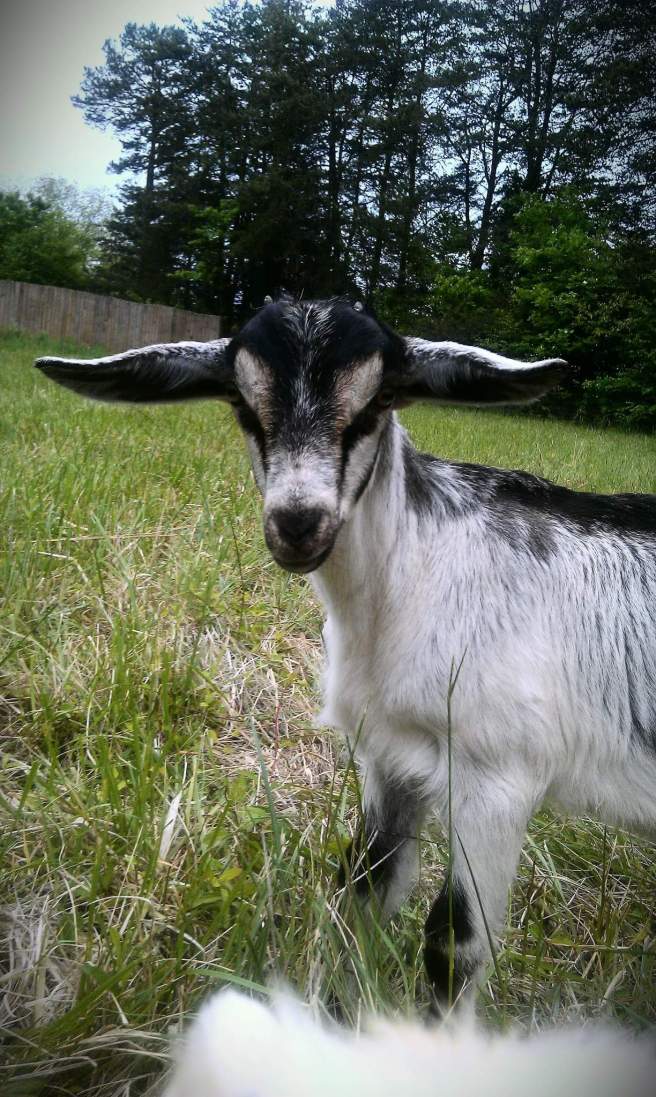
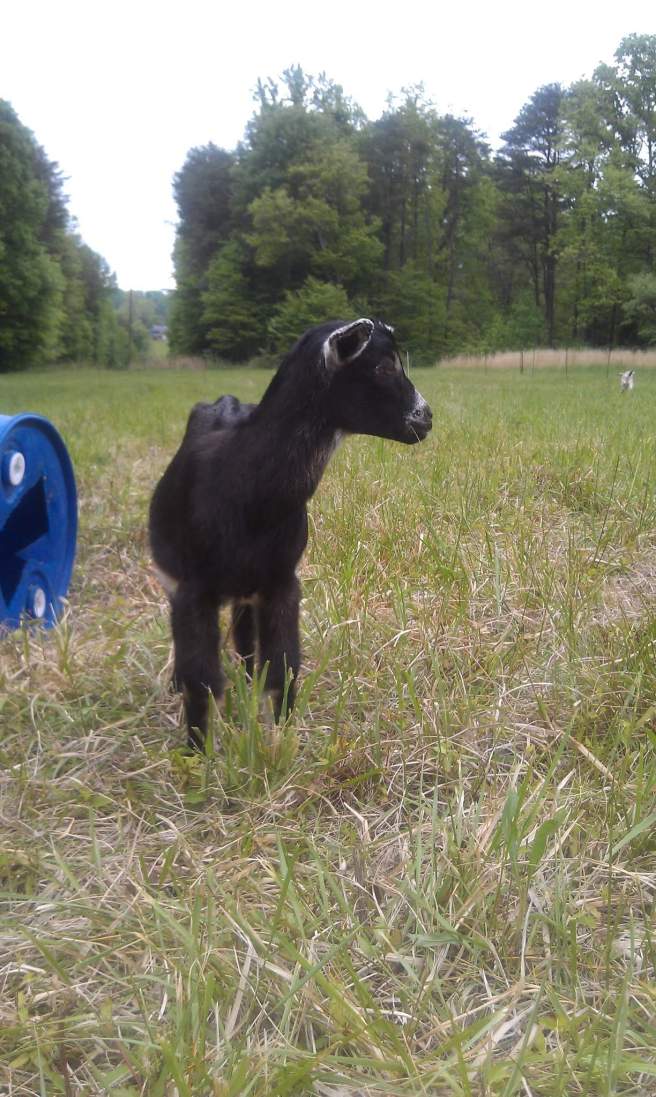
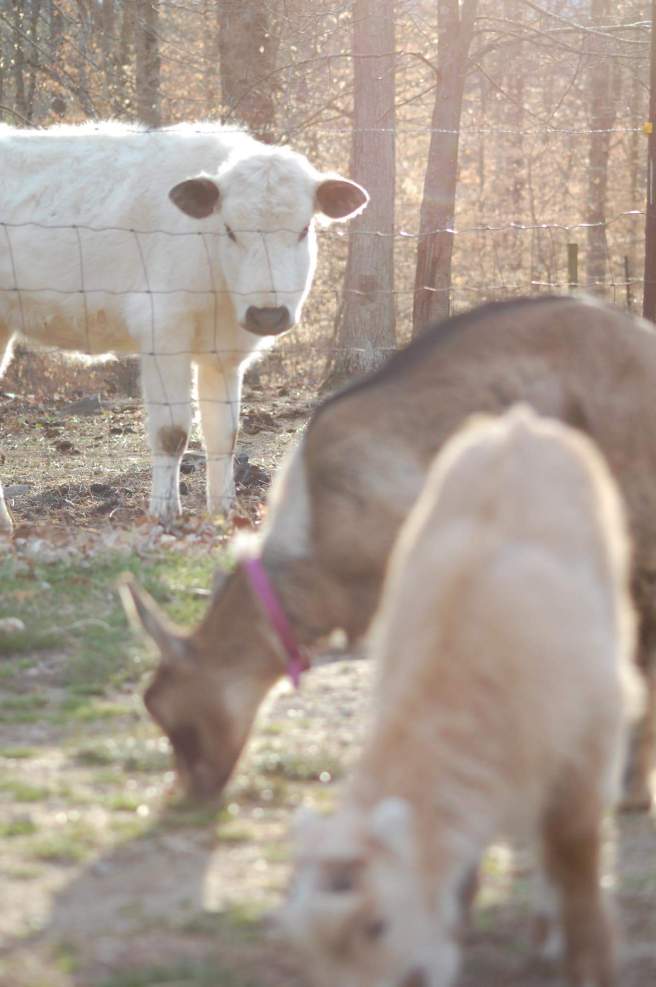
Welcome to Hardison Homestead, where I’ll be taking you through my life as a SAHM and homesteader. image Whether you’re looking to live more simply, save money, or already a homesteader – I’d like to share with you how we do it here on our homestead! My hope and goal is to share information and ideas on how homesteading can help your family be healthier (and save money too!). image Some may say “I don’t have time” or “that’s too much work”. Trust me I’ve been there myself. There have been days and even weeks that I was ready to throw in the towel along with the responsibility, and in a sense we did take a break. image At one point we had around seven dairy goats and my husband and I were sooo excited. We started with 3 babies, two Lamanchas (Maizie and Peanut) and one beautiful Alpine (Basil), both being dairy breeds. We were bottle feeding them several times a day. Waking up early to give them a bottle and getting in late from work – going straight to the pasture to feed soon became our song. We loved it. They quickly learned who we were. We would walk by the pasture and they would hop through the grass to meet us. It was great. image image We got in a routine and although our goal was to raise a dairy herd and eventually milk our goats, we couldn’t wait. So we bought our milker, Aunt Bea, a Lamancha, who had just had her first kid. Perfect! We have milk… now we just have to get it. Learning to milk a goat didn’t take long for my either of us. We could milk her out in about 15 minutes with my husband on one side and me on the other. Once we became acclimated, we were able to milk her without the other person (unless she decided she wasn’t milking that night and kicked her way off the milk stand and back into the pasture). Milking soon became my job. I could milk her out in less time than what it used to take both of us to. Farming was great. image image We loved what we had established and eventually purchased two twin Alpine kids, Saber and another one, whose name I honestly can’t remember. We had great breeding plans. A plan to build our herd with hopes of milking to supply our immediate family with fresh milk within a years time. I mean we did our homework. We were worming them the way we needed to. Checking their eyelids: pink=healthy white=you needed to worm; asap. We were giving them a preventive herbal wormer that we mixed with molasses and rolled into balls and gave them as “treats”. But then came rain. And a lot of it. image image We quickly learned about barber pole worms. A parasite that when the soil is so wet climbs the blades of grass to get away from the moisture. At that point they become ingested by your herd. For some reason barber pole worms don’t affect cows but they will kill a goat. We started seeing some in our herd with the scours (a good sign of worms).
Wait! They can’t have worms we gave them preventives! Once they get scours you have to treat them and resolve the issue quick our you’ll lose your animal. We did everything we could. Things would get better then a few weeks we’d be right where we started again. After exhaustion, tears, and heartache we decided to move our herd into Daniel’s parents pasture. We needed a break from dairy goats. image Did I mention that homesteading is hard work? Just remember hard work, high reward. Heck, you don’t have to go buy a dairy herd in one day and milk tomorrow. You would actually need to milk them today too but anyways! Let’s face it… Things don’t happen over night and it’s best not to rush things. In the end, you will sit back and have this amazing feeling of self reliance. And when you can give or do more for your family than any store can… that’s the best feeling of all. image